Tuesday 11 May 2010

Just a couple of updated barn shots

During a rain shower last weekend I cracked out a couple of cans of primer and mocked up the back of the '66 just to see how the red and black would work, gives it a bit of a split personality at the moment but like I say it's just a trial run.
Years ago I sprayed a model with the same colours so the plan has been in the background for quite some time. If I can find it in the loft I might stick a photo on here.
Here's my rather dirty Kyote II in all it's glory more to come on this later. I might even do a separate piece on each of my cars and bikes at some point.

Monday 10 May 2010

Project '66

The plan for the '66 is to eventually get it finished in a black and red dual colour scheme with full chrome, fender skirts, whitewalls and red interior. I've loved this look for years and a set of fender skirts are on the way to me right now.


 Little bit of work required first though!

Nasty discovery

One of the reasons for getting a new space to store and work on my cars was the fact that my old barn gets a lot of rats in it. I have managed to keep these out in the past but they always find or gnaw a new way in and when they get it they make a mess. So I spent most of last weekend with a bucket of disinfectant and a hose cleaning all my parts and tools that had been in any kind of contact with rats.
One of the things that needed cleaning was a pair of cloth front seats for a beetle that had been sitting around for a while. When I moved the seats I realised how bad they both smelled then I noticed a small hole in the base of the back rest in each seat. When I ripped off the back of the seat cover (they were to far gone to save) this is what I found:


Yup that's right an extremely smelly rats nest in the back of each seat. They had dragged in any bits of paper or plastic that happened to be lying around and set up a lovely little home. Sorry if you were eating!!

Moving Day.....well evening!

With the help of one of the chaps in work and his massive van, thanks Matt, I managed to move most of the stuff from my old ratty barn to my new shiny barn. There was a lot of it as well. It took us three van loads and till gone ten o'clock at night.
Here it is the obligatory buggy in the back of a van shot. Hey it had to be done! You can just see Matt peering over the body. God that thing is heavy two of us just managed to get it in and back out at the other end. We did try moving the chassis in the next load but it was just too much and we admitted defeat. Leaving the chassis, convertible and three engines to be moved another day.

Destruction before creation

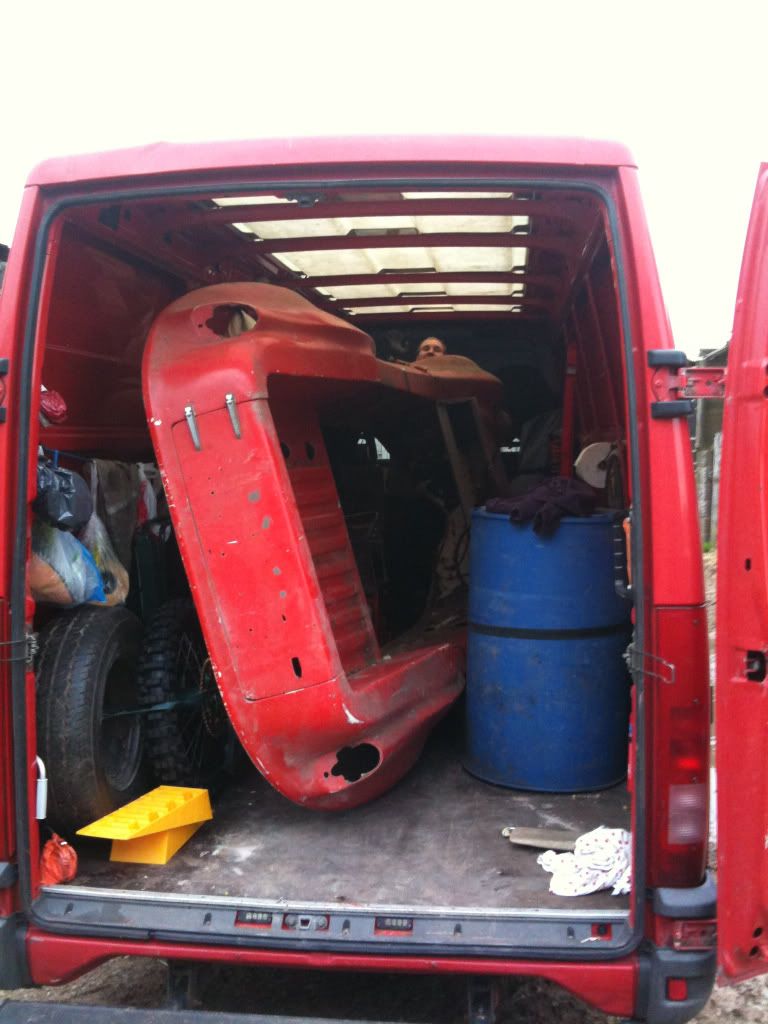
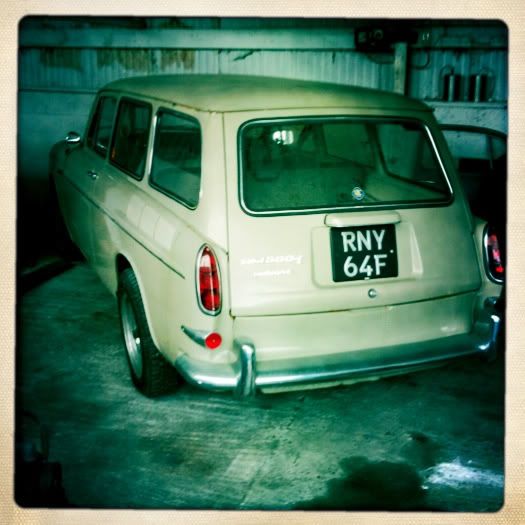
Before I can start repairing the huge amount of rust in the '66 I need to remove all the old repair panels that have been welded over the rust holes.

Rear bumper mount was the wrong type and badly welded in place with only the top edge welded to the remains of the old mount.


 So I snapped it off!
 With the rest to be removed later.


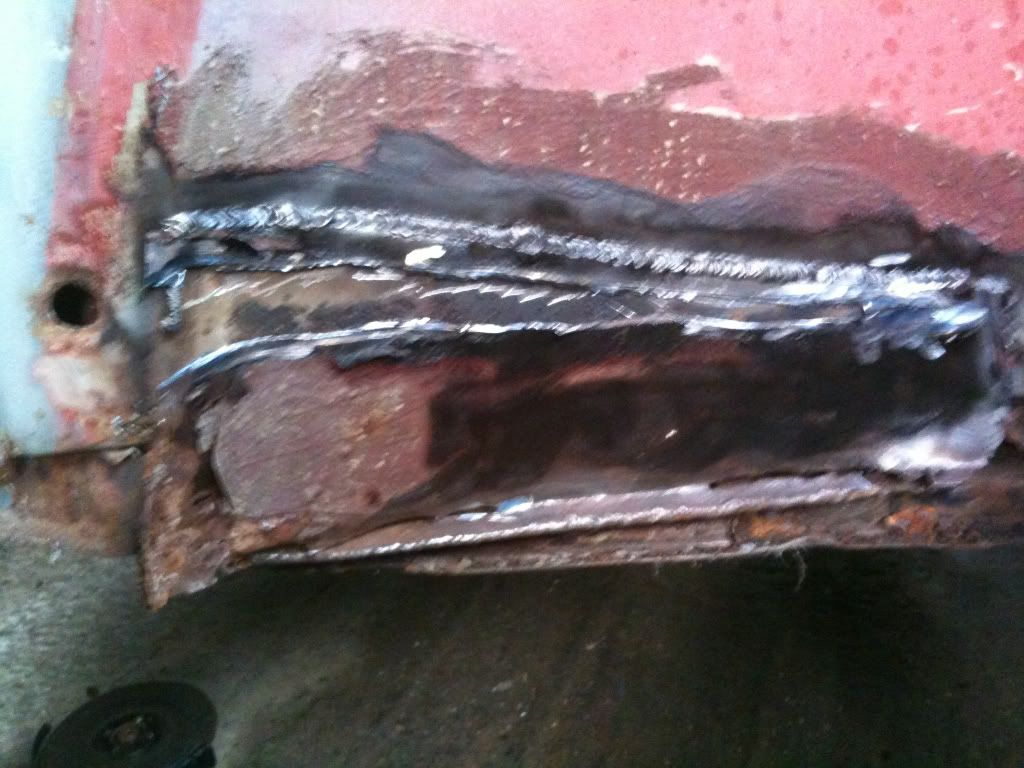
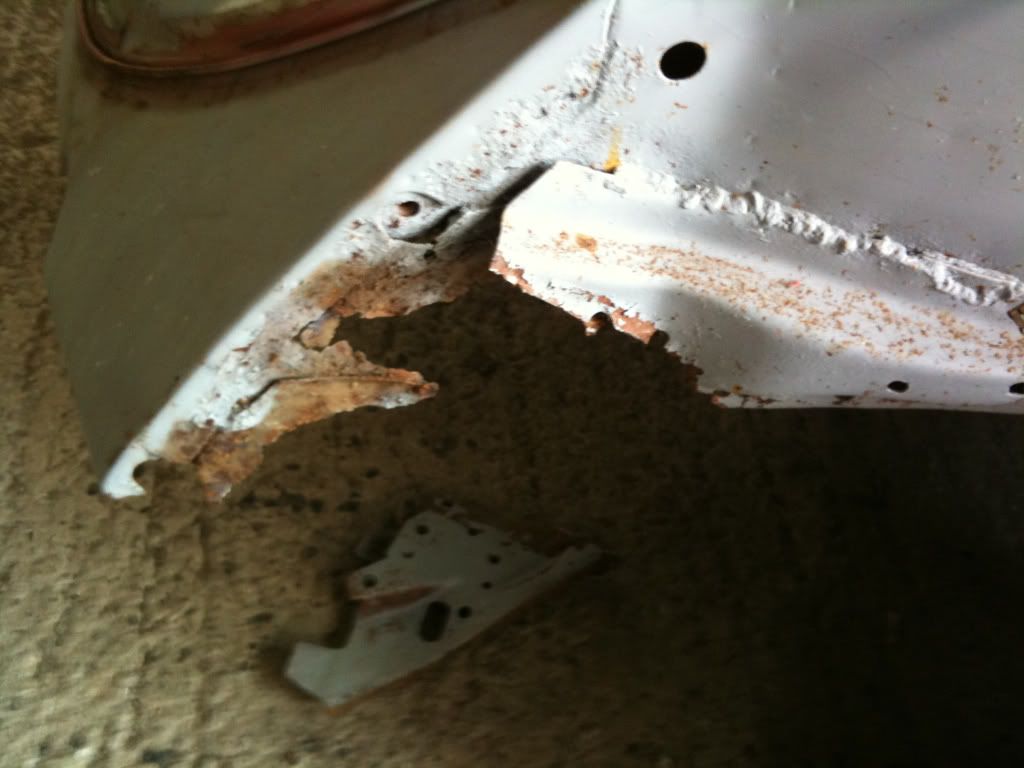
Moving to the front quarter, as is typical a repair patch had been welded over where the front of the heater channel had rotted out.


After cutting out this "repair" panel I found a lot of rot and what used to be a heater channel.


I already knew that the channels would need completely replacing as they are rotten along the entire length of the body.


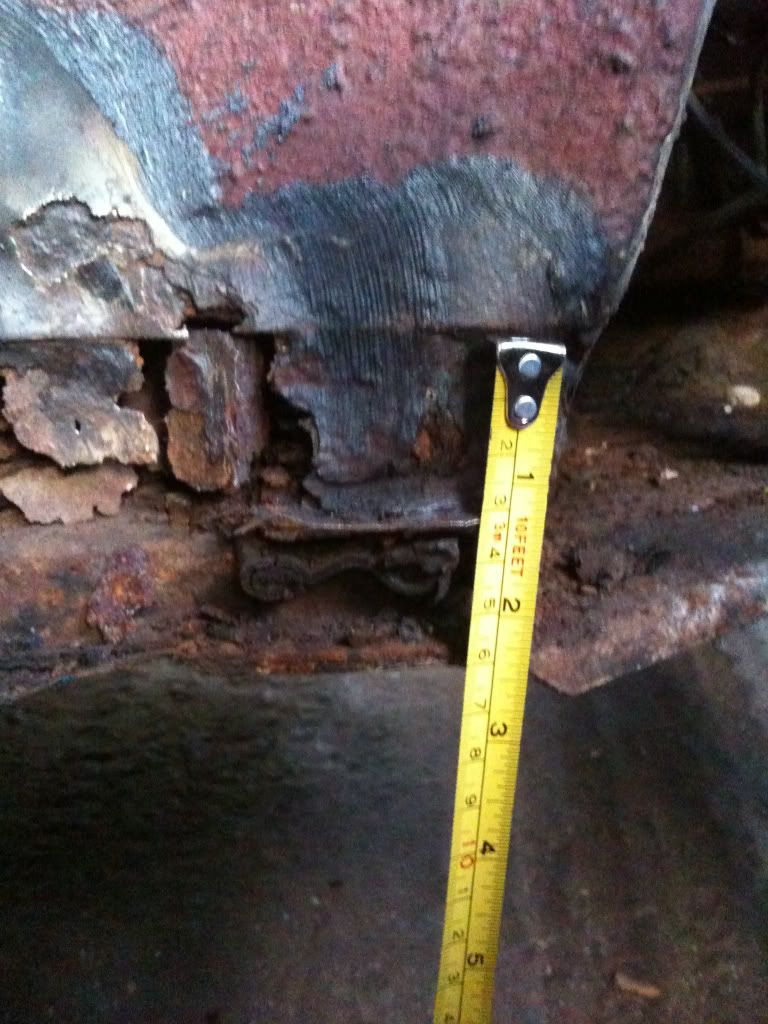
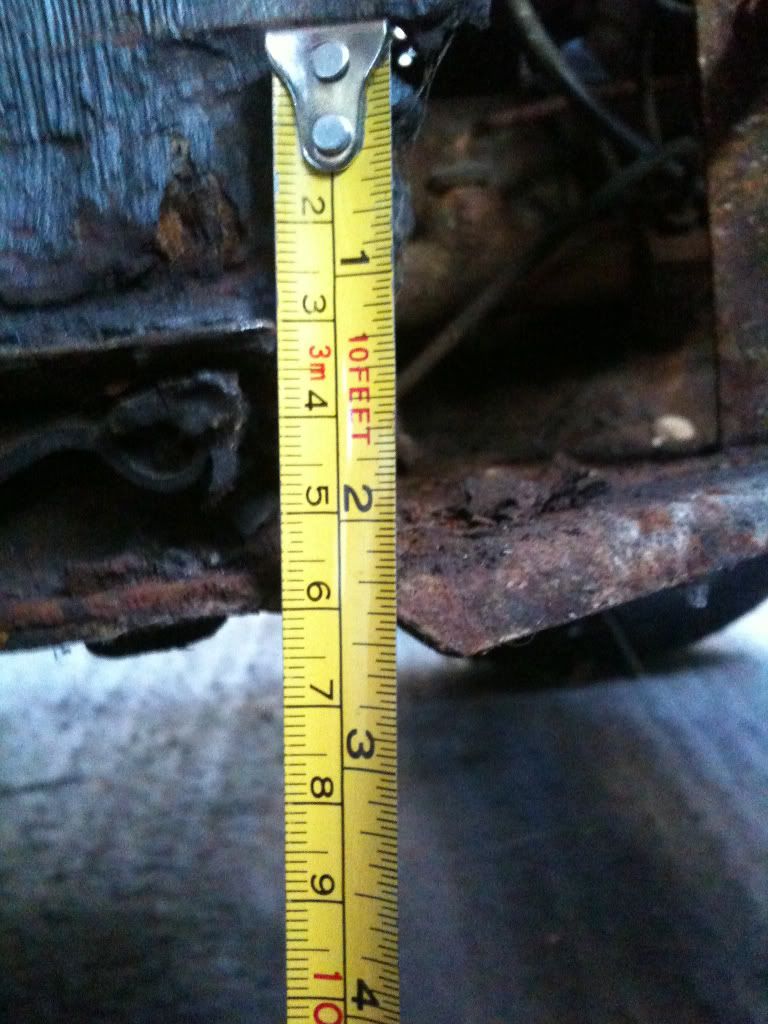
One of the things I would like to do when fitting new heater channels and front quarter panels is to keep (replace) the original panel line as seen in this photo at the top of the tape measure. The point of the tape is a visual reminder that on my car this line should be 60mm from the underside of the floor.

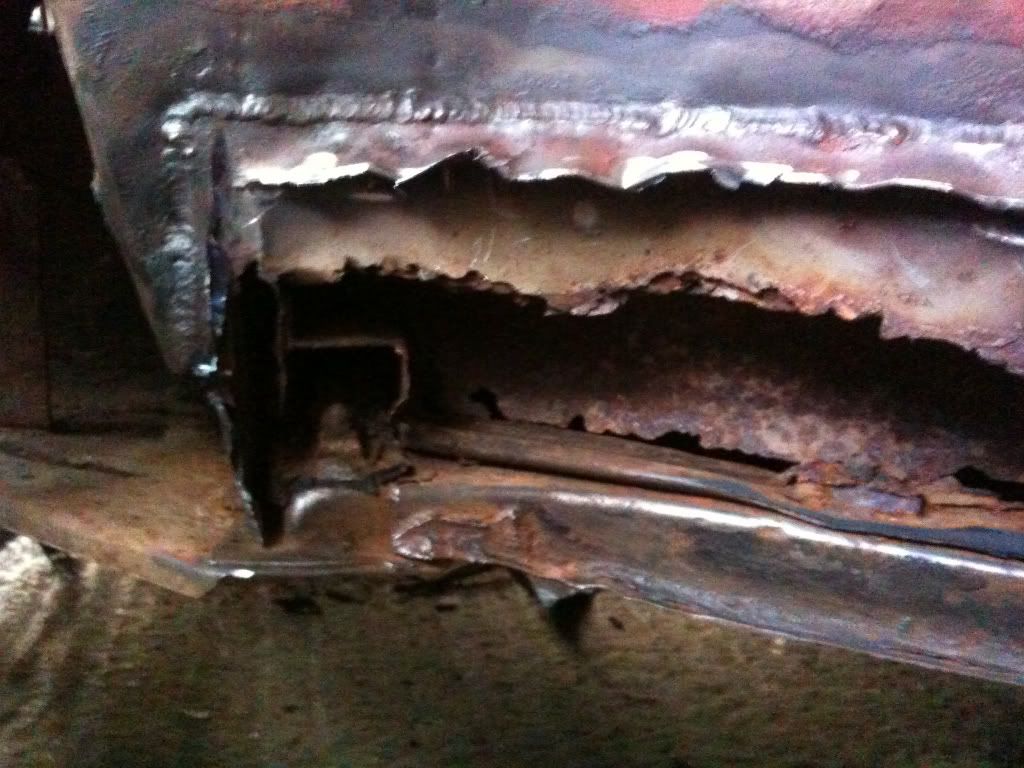
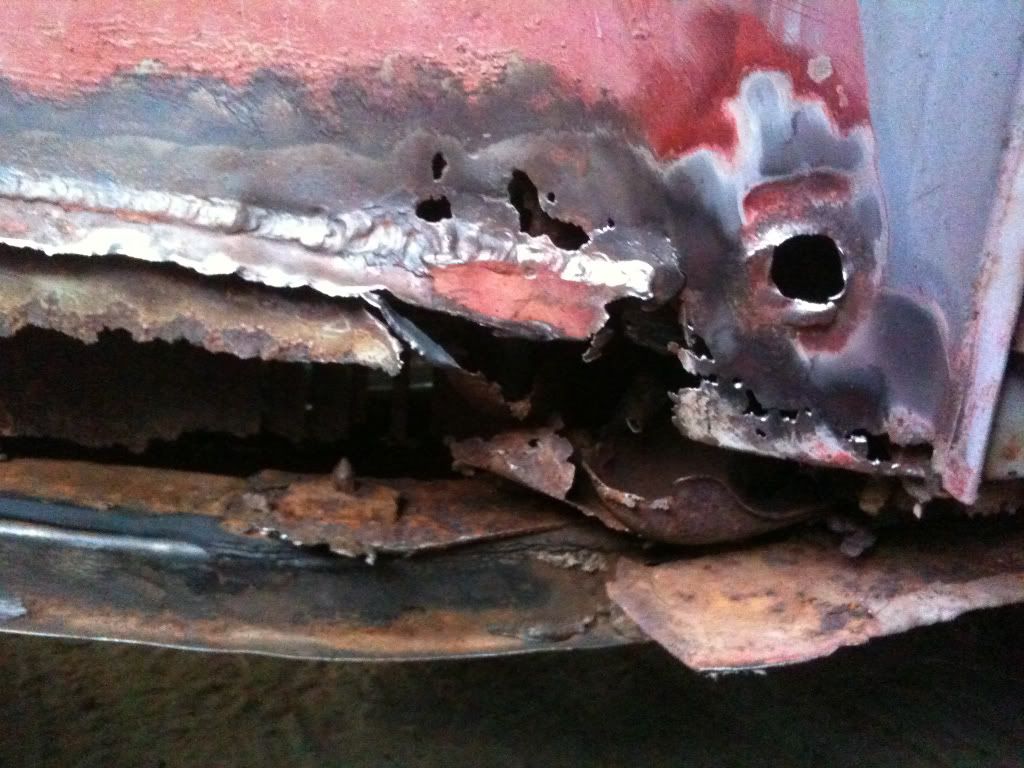
 This is the nearside front quarter after removing another similar panel. This side is worse though as none of the original panel base is left.
Again the heater channel behind is shot.


The rear edge of the above panel proper mangled!
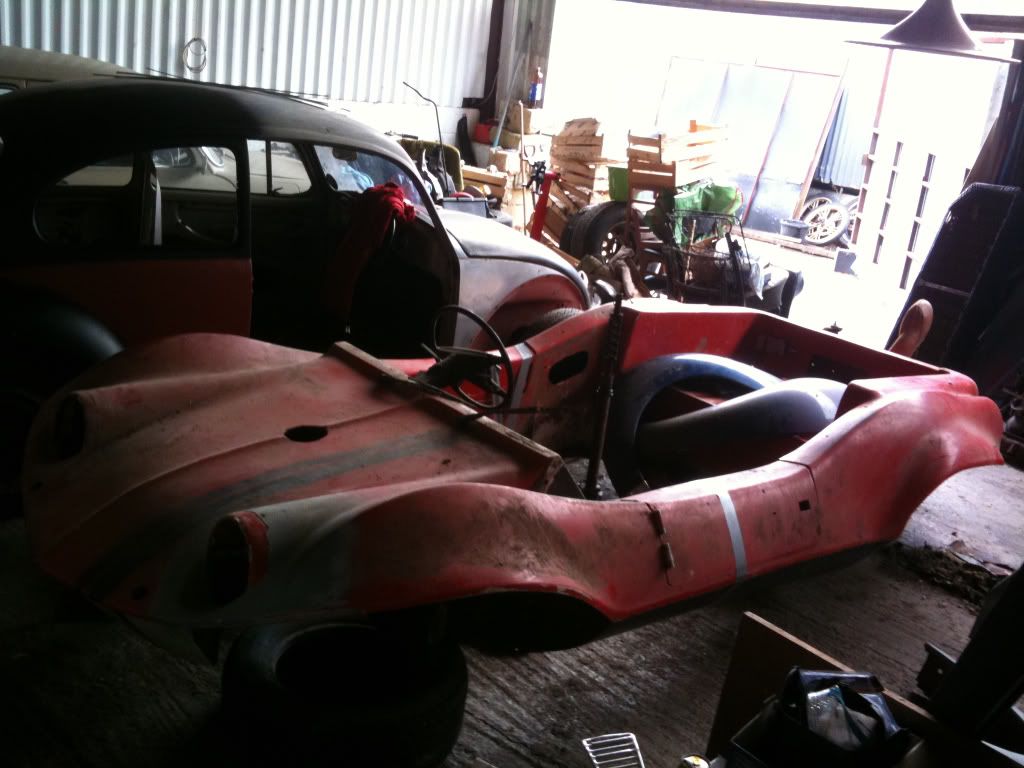
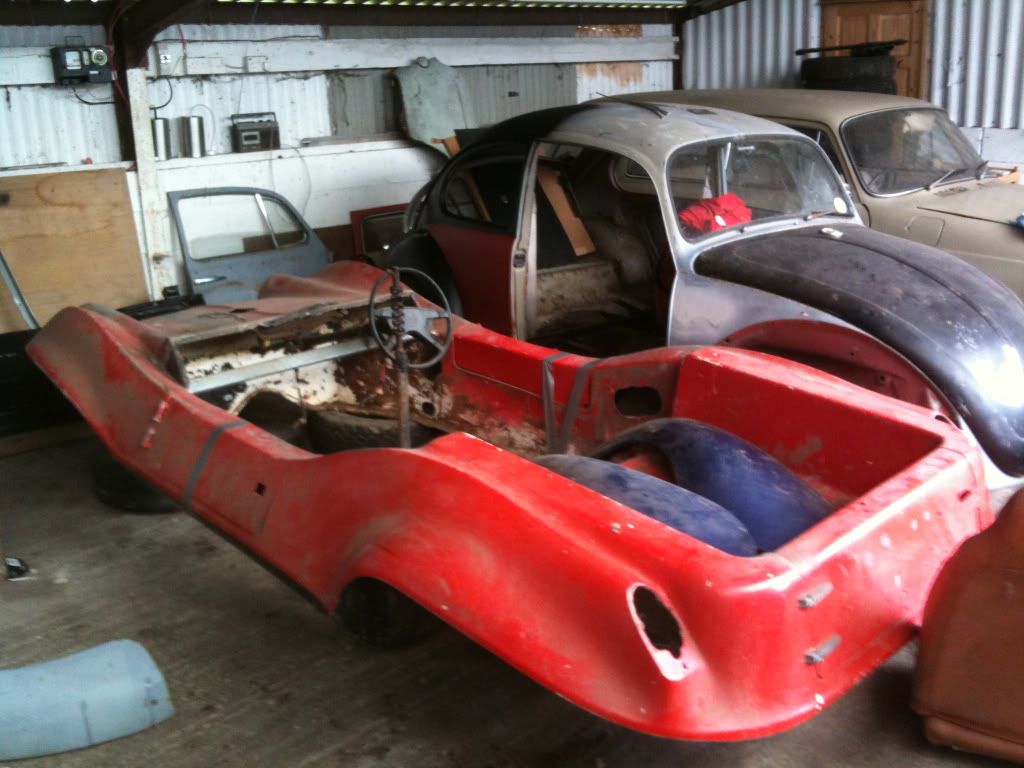
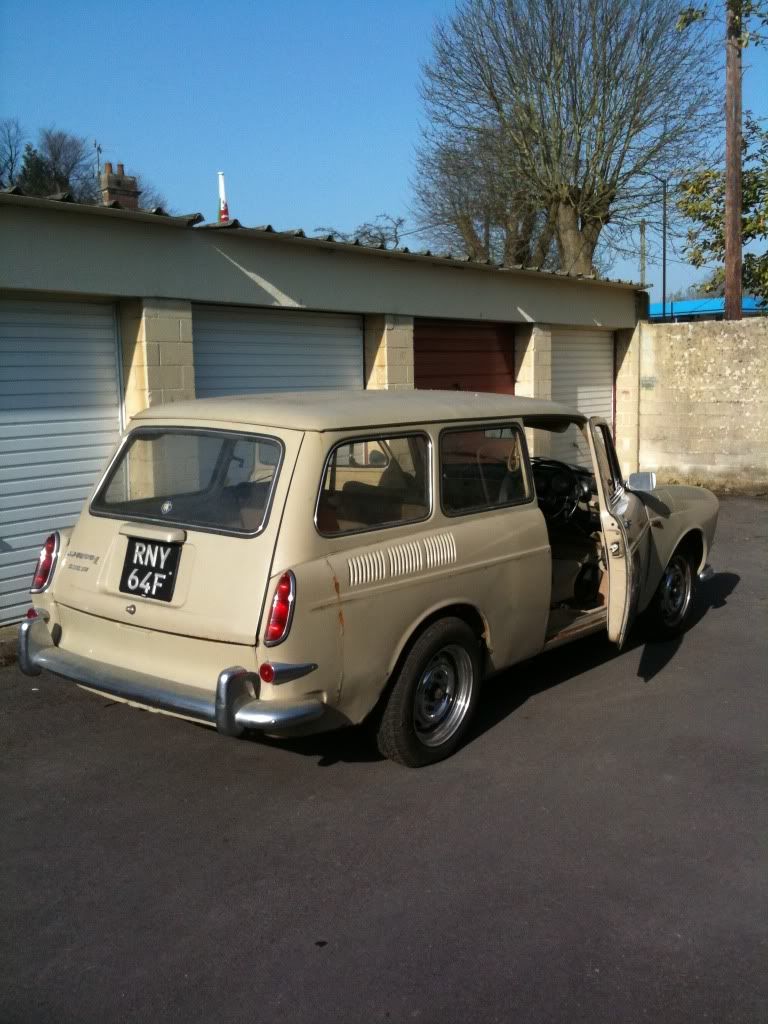
Hip Pics

All the above pictures were taken using the Hipstamatic app on my iphone.

Bonus floor space

When I got the barn there were a couple of sheets of chipboard pretending to be a storage deck.


So I took these down straight away and built a new frame (higher up so I don't hit me noggin) and fixed them back up with plenty of nails.


Extra space will be used for storing all the stuff that doesn't need to take up space on the floor, like seats and exhausts and junk.


View from the top, it looks pretty empty at the moment but it's about to get a lot busier in here with two possibly three cars to be added.

Free Kit

So my girlfriends boss heard that I had a new barn and gave me his mig welder that he bought years ago to restore a morris minor that he sold before doing up. Doesn't look like it's had much use, Nice!
 

Messin around

Now I have two cars in the barn I can start messing with stuff which will hopefully encourage me to get going with the mammoth task ahead. Don't expect immediate results though as I spend a huge amount of workshop time procrastinating!
As long as I've had the '66 it's been sprayed primer grey so I dug out the wet and dry and carefully removed some of the primer to find the original paint still underneath.
I think its pretty cool looking but with the amount of rust in the lower areas of the car and the non original wings I don't think I'll be doing the whole car.

 Prior to starting any work on the '66 I bagged some brand new TMI interior panels for a bargain price on good ole eBay. Being the messer that I am I couldn't help but stick them in just to see how they looked. I like them a lot and plan on getting red seat covers to match and probably respraying the steering wheel Cream to match the knobs and winders.
These are the original diagonal only seat belts, might try and keep them if they work.

Playing Catchup

So after years of having my cars scattered around in council garages and a small rat infested barn I have managed to find the perfect barn near to where I live.
I now have space to store all my cars together with power, lights and water to boot. Plus not a rat to be seen!
Started moving in straight away so I didn't have to pay anymore rent than necessary on my other garages.
Variant outside her old garage block ready to roll.
 '66 all loaded up.
Safe and sound in their new home, now to move the rest of it!!!

New Beginnings

So I've decided to start a blog. Mainly just so I have record of what I have done to my cars and secondly because I read so many other peoples blogs I though it was time I tried to give something back.
The blog will mainly consist of photos of stuff as it happens, so if you like looking at photo's of rusted old cars in lots of pieces this is the place to be!
Now I don't know if any of this is going to be of interest to anyone else but if you fancy keeping track of where I am with my numerous projects just hit the follow button.